


Estimated time: 2-4 days (depending on how many coats of oil are needed)
Prep time: 2.5 hours
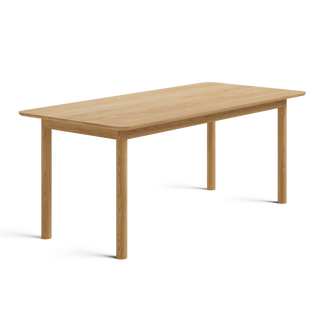
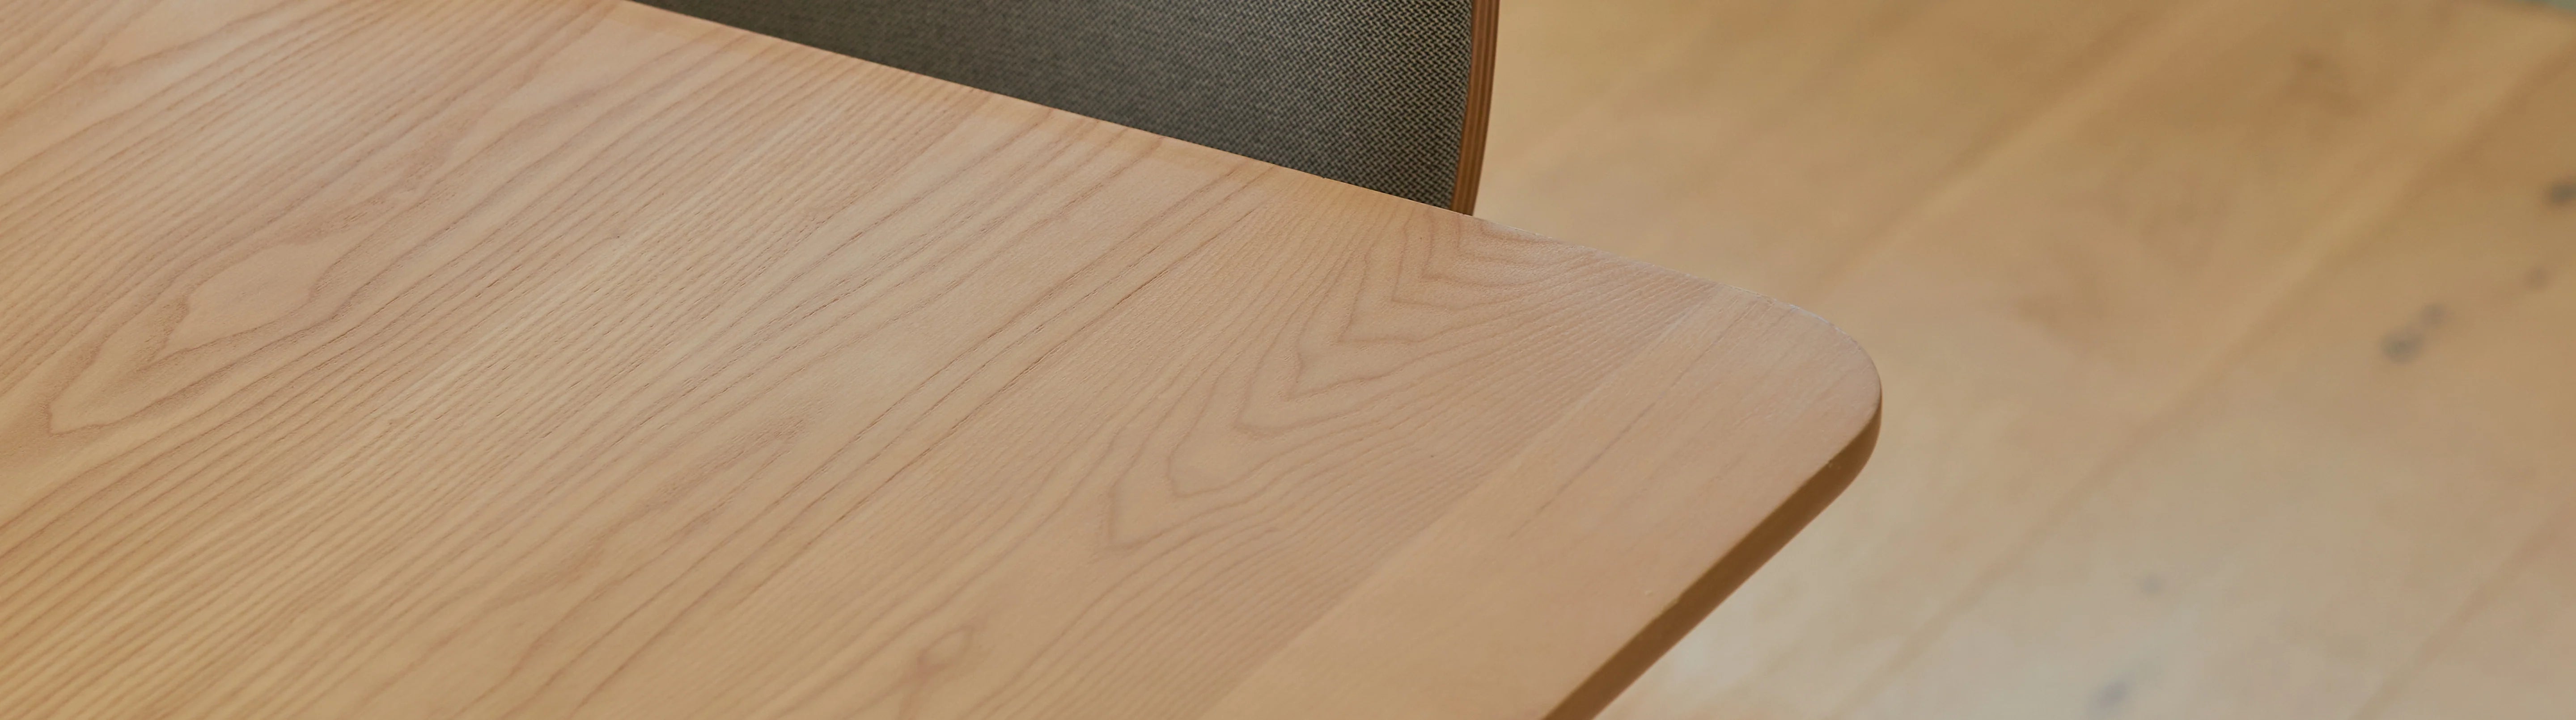
Eva’s Kin Dining Table is crafted from solid American ash timber. It’s strong, high-quality and can last for generations.
Solid timber can also be restored very easily. Whether you’re flipping a thrift store find or want to breathe new life into your dining table after a few years of wear and tear, follow these simple steps to sand and re-oil your solid timber so it’s good-as-new. We recommend restoring your timber table once every 3-4 years, or whenever you think it needs a refresh. There are no rules!

You will need:
- Orbital sander
- Sandpaper for sanding by hand
- Wide paint brushes
- Turpentine
- Oil, for the wood finish (we recommend linseed oil)
- Safety glasses
- Sheets, to protect your floors
- Face mask
- Ear muffs
- Soft cloths
- Gloves
Step 1. Ensure your safety
Before beginning the process of sanding your timber table, make sure you’re wearing clothing that will protect you. Wear safety glasses for your eyes, and a mask to ensure you don’t inhale any dust from the wood shavings. We recommend wearing closed-in shoes and earmuffs if you are using an electrical sander.
Place sheets on the floor surrounding the table to make for an easier clean up at the end of your sanding!
Step 2. Clean the surface to be sanded
Thoroughly clean the table with a damp cloth and remove any dirt or grime before you begin.
Step 3. Sand the surface
Use a coarse sandpaper and sand, by hand or with an orbital sander, the tabletop and legs. Remember to always sand in the direction of the wood grain. You may need to replace the sandpaper a few times if it becomes too worn.
As you sand, intermittently brush the dust off the surface of the table. This way you can see how much more sanding needs to be done.
Continue sanding until the table is stripped back to its bare wood.
Step 4. Wipe the table with turpentine.
Wipe the table with turpentine to remove any dust or residue remaining on the table. We recommend wearing your mask at this point.
Step 5. Seal your table.
Apply a liberal amount of oil onto the table, spread it with a paintbrush, and rub it in with a clean, dry soft cloth. Be sure to rub in the direction of the grain. Continue until the whole table is covered. Leave for 30 minutes, then wipe away any excess oil from the wood with a dry cloth. Leave the table to stand for 24 hours.
Step 6. Apply the second coat of oil.
Pour a liberal amount of oil onto the table, and this time work the oil into the wood using sandpaper. Repeat the process until the entire surface of the table has been covered by the oil sandpaper. Wipe away any excess oil from the wood with a dry cloth. Leave the table to stand for another 24 hours.
Step 7. Repeat.
You can repeat step 6 as many times as you want, until the table has achieved the desired restored look. Be sure to leave 24 hours between applying each coat.
Step 8. Enjoy!
Enjoy your good-as-new restored timber table!